
Inside the Volt Piggyback Infotainment & Data Platform
How our Khadas VIM3 Pro–based system extends the life, safety, and future of the Chevrolet Volt

How our Khadas VIM3 Pro–based system extends the life, safety, and future of the Chevrolet Volt

Exciting Progress on Our Chevy Volt Battery Project We’re thrilled to share an update on our ongoing battery replacement project for the Chevy Volt! Our team has been hard at work on prototyping, testing,...
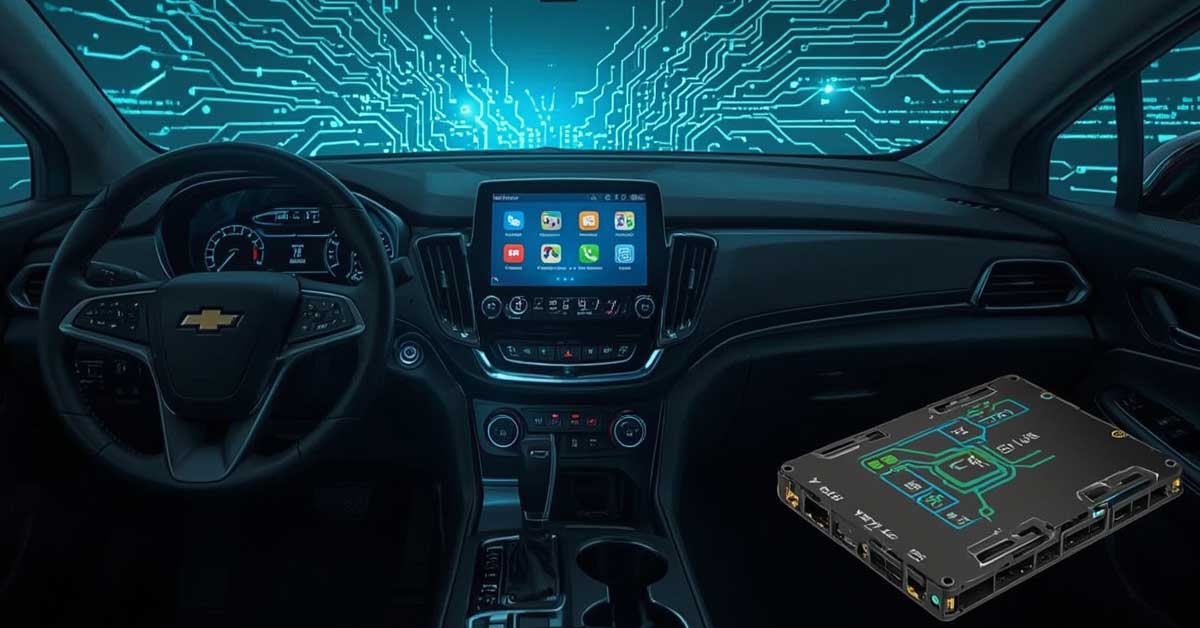
An open-source project bringing new life, customization, and upgradeability to the Chevy Volt.
Welcome to the Nutz N Voltz project blog — your inside look at the design, fabrication, and testing of our next-generation Chevy Volt and Cadillac ELR battery solutions. From 3D printing and laser cutting to connector design and performance testing, we share every step of the journey as we engineer affordable, high-quality EV battery replacements. Follow along as ideas turn into prototypes, and prototypes turn into road-ready upgrades.
Our upcoming piggyback infotainment kit, built around the Khadas VIM3 Pro, is designed to co‑exist with the Chevrolet Volt’s factory systems—not rip them out. From day one, the stock infotainment, safety systems, and displays remain fully intact. Our platform rides alongside them, carefully cooperating with factory logic while opening the door to modern features, deep visibility, and long‑term upgrades.
This approach is intentional. The Volt is already a beautifully engineered car with an exceptional safety record. Our goal is to coax out its full potential, not override it.
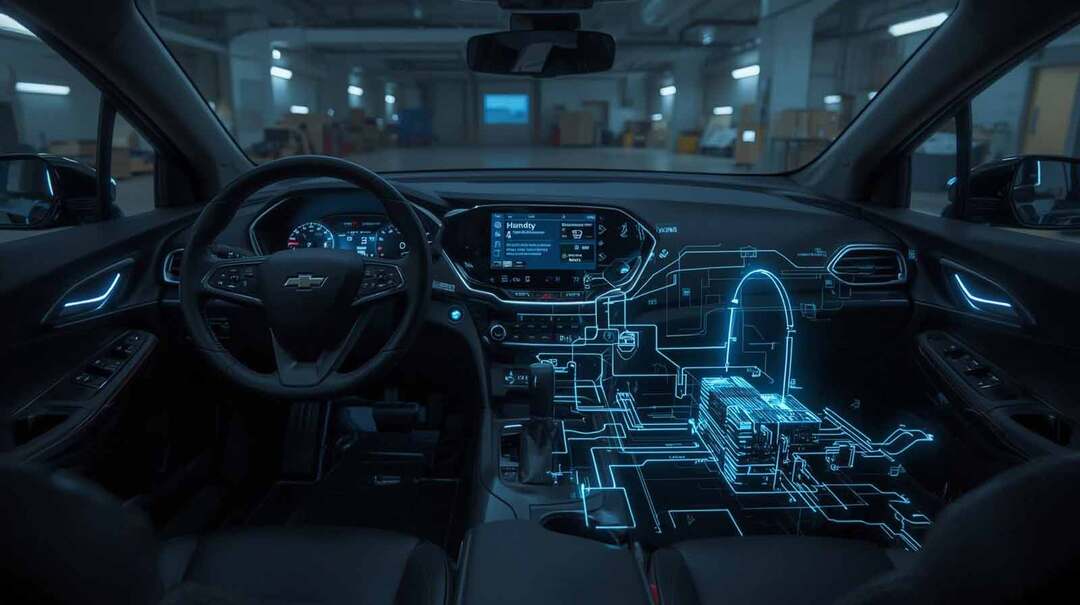
The piggyback system allows a next‑generation infotainment experience while preserving the original GM interface.
Key capabilities include:
We’re also developing Volt‑specific custom apps, including tools to:
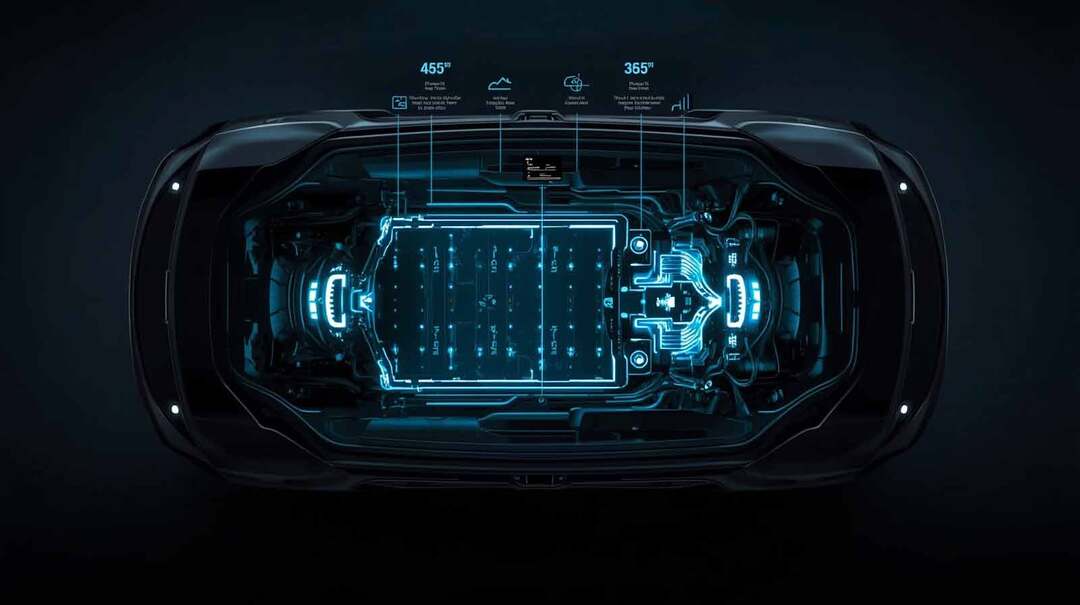
Dealer scan tools often summarize or obscure what’s really happening under the hood. Our system provides high‑resolution, real‑time visibility into areas that matter most to Volt owners:
This data isn’t just for curiosity—it’s foundational for diagnostics, longevity, and smarter energy use.
The platform is built to support controlled experimentation, always in cooperation with factory safety systems.
Potential capabilities include:
Safety is non‑negotiable. Our software will not allow actions that could damage the vehicle or endanger occupants. Every feature is designed to respect the Volt’s existing protections.

The piggyback architecture also serves as an interface layer for what comes next:
By adding intelligence around the vehicle instead of replacing it, the Volt becomes upgradeable in ways most cars never will be.
It’s taken years to reach a balance where systems are modifiable and safe at the same time. We deliberately avoided releasing dangerous tools that could be abused or harm the Volt’s reputation.
Instead of seizing control, our platform works with the car—extending its value, usefulness, and lifespan.
With our upcoming replacement and extended‑range battery packs, the Volt evolves into:
Future paths may include DC fast charging, or potentially skipping straight to solid‑state batteries. If owners are investing in a premium pack, it should be truly next‑generation—not a compromise.
While the infotainment system co‑exists with the stock setup, it also performs a critical role: data collection.
The VIM3 Pro continuously monitors vehicle and battery metrics to help us:
This data feeds into a centralized system where AI analyzes trends across the fleet, similar to what GM once did before 3G connectivity was retired—only now, owners stay informed.
If our AI detects a developing issue anywhere in your vehicle systems, you’re notified early, while it’s still a manageable situation.
Data is transmitted securely via:
Owners can choose the option that best fits their needs.
While the Volt is our starting point, it’s not the end.
We plan to offer similar piggyback systems for any CAN‑bus‑based vehicle, enabling:
Our priority is EVs, where battery availability can determine whether a car lives or dies. Our mission is simple: no vehicle should be abandoned because replacement or upgraded batteries don’t exist.
With AI accelerating CAN‑bus analysis, we can move faster than ever—freeing engineers to focus on the next most critical platforms.
This is more than an infotainment upgrade.
It’s a foundation for:
The Volt just happens to be the perfect place to start.
We’re thrilled to share an update on our ongoing battery replacement project for the Chevy Volt! Our team has been hard at work on prototyping, testing, and refining the design to deliver a reliable, high-performance solution for Volt owners.
After evaluating different options, we’ve decided that our production battery will use larger lithium-ion cells, a step up in capacity and efficiency from traditional cells. These cells offer better energy density, longer lifespan, and improved thermal stability—key factors in providing a dependable and safe replacement battery.
The prototyping phase is progressing smoothly. We’ve been designing and testing battery holders, wiring, and monitoring systems to ensure each module performs optimally. The prototype helps us fine-tune the assembly and integration with the Chevy Volt’s existing systems, preparing us for full-scale production.
Our goal is to create a battery pack that not only matches but exceeds the performance of the original, giving Volt owners a sustainable and long-lasting alternative. The upcoming production version will benefit from everything we’re learning in this prototyping stage.
Stay tuned for more updates as we move closer to production! We’re committed to transparency and sharing our progress with the EV community every step of the way.
At Nutz N Voltz / Promethean Batteries Inc., we believe that electric vehicles deserve a second life. That’s why we’re working on an open-source customizable, upgradable infotainment and control system for the Chevy Volt.
We now have a public GitHub repo where you can explore, contribute, and build on the software side of this project:
The front half of Monroe’s software is already open source, focusing on displays, integration, and automation:
There’s also a simple, low-cost way to take control of the Volt’s center display by using pins 6 and 12 on the Volt HMI to input a composite signal (backup camera input). With a basic mechanical switch, you can toggle between the stock backup camera and the new AAOS-driven display.
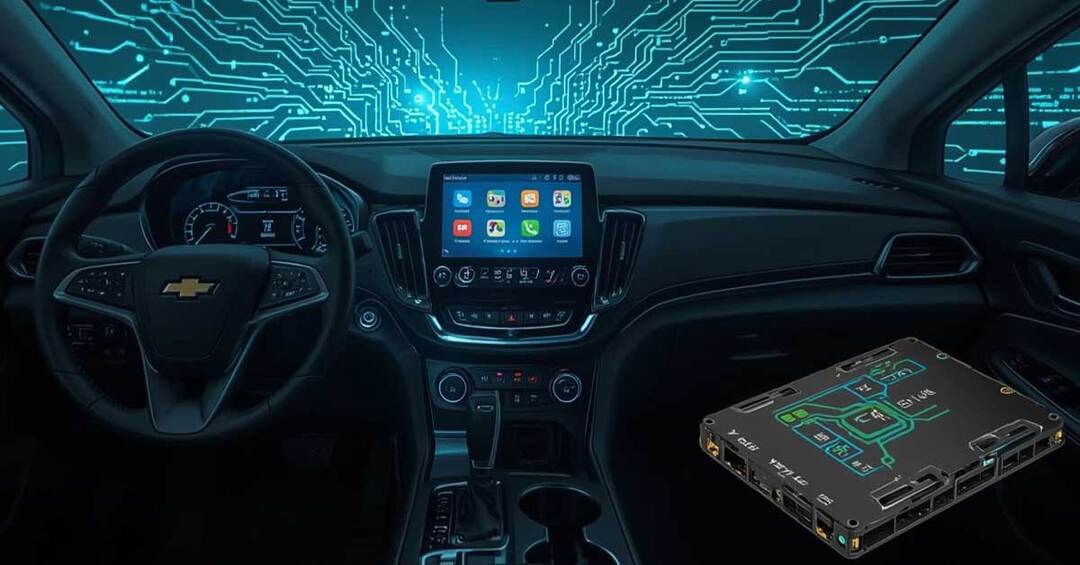
For those eager to dive in, the starter kit costs around $250 in hardware:
This setup allows you to:
Traditional solutions require $300–500 LVDS switch boxes. Our approach uses the existing composite input, making it much cheaper and open to further development. As the project evolves, both the dash and center console displays will be fully app-driven, customizable, and future-proof.
The VIM3 Pro’s M.2 slot even supports 5G modems, enabling on-board apps for phone, internet, maps, and a self-hosted OnStar alternative.
Later this year, Monroe plans to release open-source work on the electric motor controllers, transmission, and drivetrain—a huge leap forward in extending the life and performance of the Chevy Volt.
This is a community-driven project, and we welcome contributions in both code and art. Whether you’re a developer, designer, or EV enthusiast, your skills can help push this forward.
🔧 Explore and contribute: GitHub Repo
⚡ Follow our journey as we make the Chevy Volt more sustainable, customizable, and powerful than ever before.
At Nutz N Voltz, we’re always looking for ways to push the Chevy Volt beyond its factory limits. The OEM software and HMI (Human-Machine Interface) were great for their time, but EV tech has advanced, and we believe Volt owners deserve more flexibility, control, and future-ready features.
That’s why we’ve designed a custom circuit board that takes over the center console display, giving us the ability to run a KHADAS VIM3 single board computer alongside the stock Volt HMI. With this setup, drivers will be able to switch between the factory system and our custom interface seamlessly.
The KHADAS VIM3 is a powerful ARM-based single board computer, offering:
It’s small, efficient, and perfect for in-car use — exactly what we need to power the next evolution of Volt upgrades.
This “takeover move” is just the first step in a larger plan: gradually phasing out the stock Volt software and replacing it with our own system, built from the ground up. By starting with the display, we create a foundation for future features like:
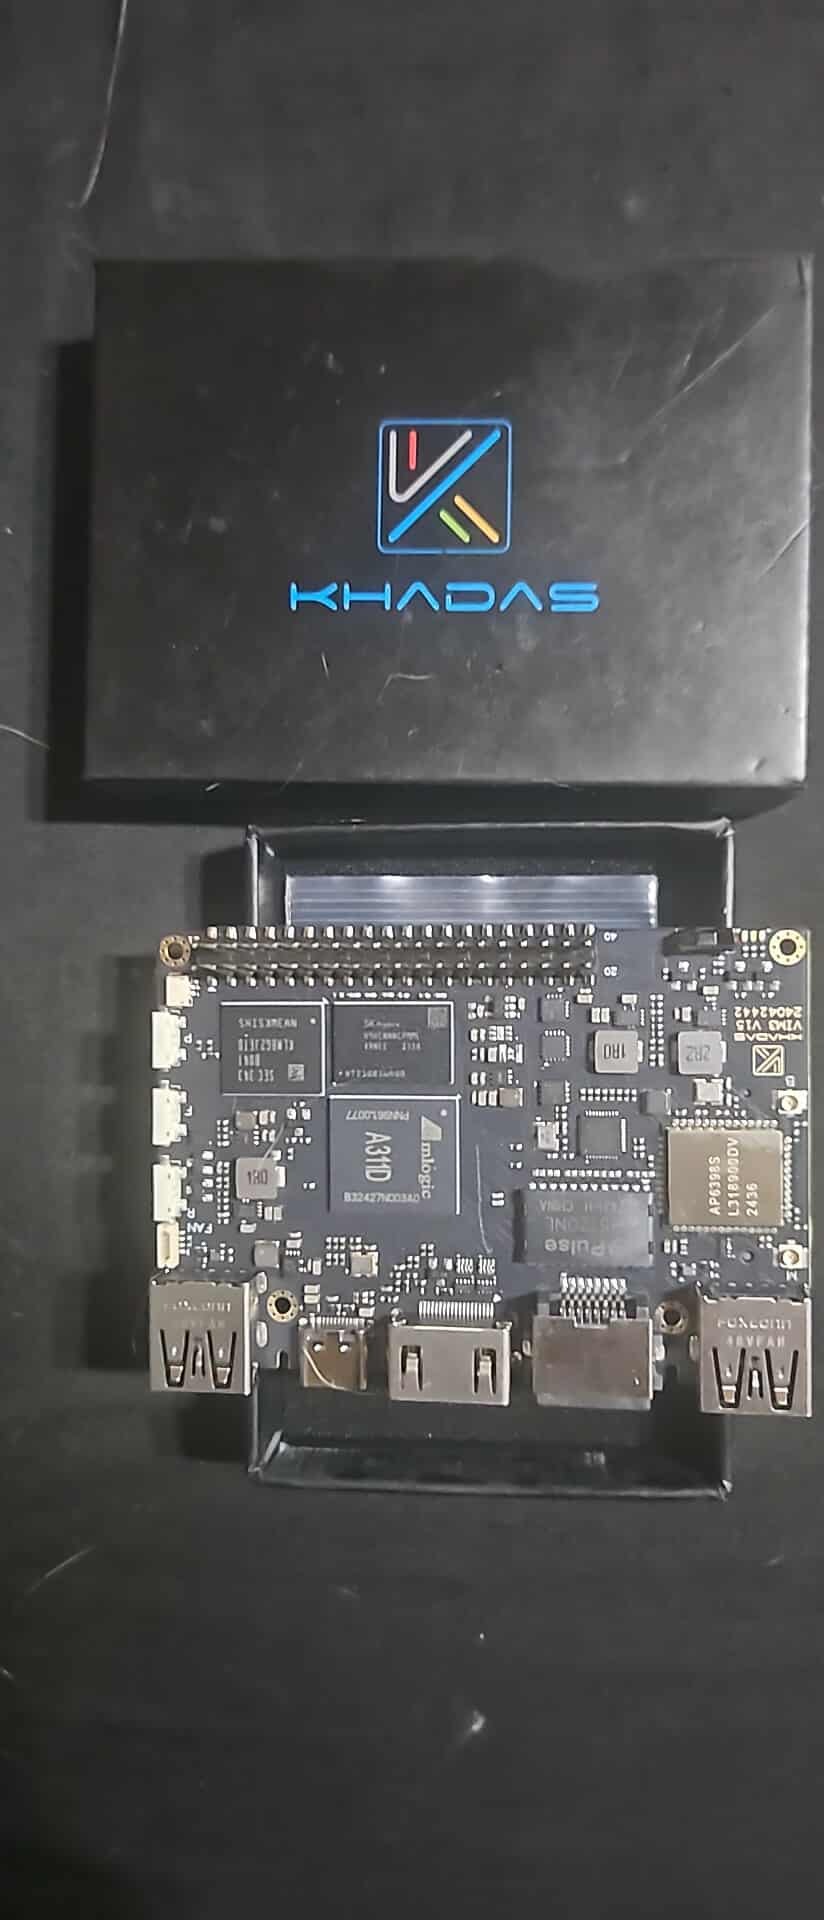
Right now, the hardware is in place and testing has begun. Our next milestone will be refining the software environment, building the switching logic between the OEM interface and the KHADAS platform, and laying out the roadmap for the first custom applications.
This is just the beginning, but it marks a major milestone for the project — shaping the Volt into a platform that evolves with its drivers, not one locked to 2010-era software.
Stay tuned as we share progress updates, demos, and eventually, a look at the new custom UI in action.
One of the most challenging — and exciting — parts of building our new replacement battery pack for the Chevy Volt is creating the high-voltage connector system that bridges our battery to the Volt’s existing wiring and control modules. While it might seem like “just a plug,” this component plays a critical role in performance, safety, and long-term reliability.
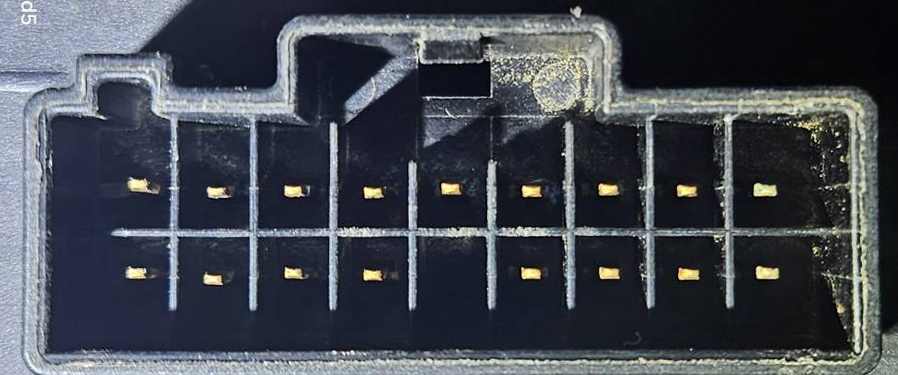
The original Chevy Volt battery connector is purpose-built for GM’s pack layout and module design. Since our pack uses a different cell configuration — 18650 cells arranged in modules — we can’t simply re-use the OEM connector without major compromises.
We need:
We started with the OEM connector footprint to ensure plug-and-play compatibility with the Volt’s harness. From there, we modeled a new housing in CAD, focusing on:
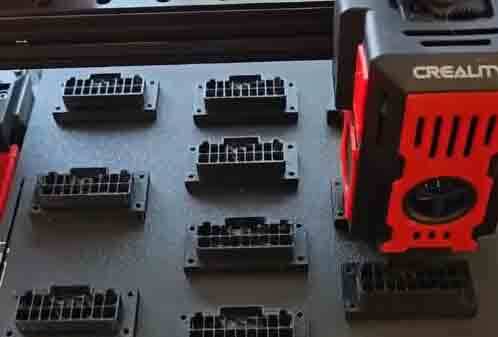
We’re using:
The prototype housings are being 3D printed for test fits, while contact pins are CNC-machined. This allows us to refine tolerances before moving to injection molding.
Before we roll out the production connector, we’ll test for:
This connector is the bridge between our modernized battery pack and the Volt’s proven powertrain. By designing it to meet — or exceed — OEM specs, we’re ensuring that owners can confidently upgrade to our replacement pack without sacrificing performance, safety, or serviceability.
As we finalize the design, we’ll share more photos and possibly a behind-the-scenes look at the CAD models and test rigs.
Jason our 3D Print man and Laser cutting Guy has been busy beaver figuring out how my plans and his work come together! In fact he changed a particular part of the design that really made the design a lot better than I had planned and made a perfect solution that I had not seen that made the parallel and series pattern work out perfectly! These photos were when we were working out laser cutting acrylic and 3D printing designs. I'm going both ways with the prototype to work out strength and cooling system ease of construction. The main goal of the first prototype is to build the pack in the right shape and size and make sure our design will power the car first because its all for naught if it does not work electrically!
Big news — the 3D printing of our custom Chevy Volt replacement battery case is in full swing, and if all goes according to plan, it may be shipping to us as early as Wednesday! This is a major step toward completing our prototype pack for Volt and Cadillac ELR owners.
Our new battery pack design uses 18650 cells in nine modules, arranged differently from the OEM pack. That means we needed a completely new case to:
Rather than repurposing an OEM case, we opted to build one from the ground up — giving us total control over form, fit, and function.

The case isn’t just 3D printed. We’re combining laser-cut metal components for strength and 3D printed structural pieces for precision fit and complex geometry.
The case was modeled entirely in CAD, then split into sections for printing and cutting. The design process involved:
After printing, the panels will be cleaned, heat-treated for added strength, and bonded to the laser-cut framework.
Once the case arrives this week, we’ll:
This hybrid fabrication approach — combining laser-cut precision with 3D printing flexibility — ensures our battery case will be both strong enough for daily driving and custom-fit for our upgraded design.
The test Volt is coming along nicely! seats and carpet are out and I am about to cut the hump out and reinstall the battery plate so we can build this battery from the top and keep an eye on it and monitor it while we test it! There's about 50 or more lbs. of sound deadener on that floor they used a lot!
Monroe Lee King Jr
The Volt Guy